Virtalis Reach 2023.2 Release Notes

Introduction
The Beta release of Virtalis Reach marks a substantial leap forward, born from six months of concentrated efforts to enhance CAD data performance and support multiple concurrent user connections. We have re-engineered Reach's architecture from the ground up, directly addressing customer needs for a product that is both scalable and high-performing.
This initial Beta release debuts our first-generation rendering system, specifically designed to handle CAD data more efficiently, eliminating the visual limitations experienced in previous versions. While we celebrate this milestone, it's worth noting that our commitment to innovation persists. We are in the advanced stages of further refining this rendering system, and you can anticipate more substantial improvements in the near future.
This Beta release serves three core purposes: to provide a clear indication of the product's direction, to showcase the enhancements in performance and scalability we have achieved, and to gather valuable customer feedback. By engaging with this Beta release, you will experience the progress made, and have the opportunity to provide feedback that will be instrumental in refining Virtalis Reach to better meet your needs. Your interaction and insights are crucial for the ongoing development, and ensuring that the final product is both robust and aligned with your requirements.
Getting started
To access the Beta release of Virtalis Reach, open Virtalis Reach Edge and click on the 'Beta' button at the top-right of your screen.
Note: The Beta release is not accessible from Virtalis Reach Hub.

Scenes page
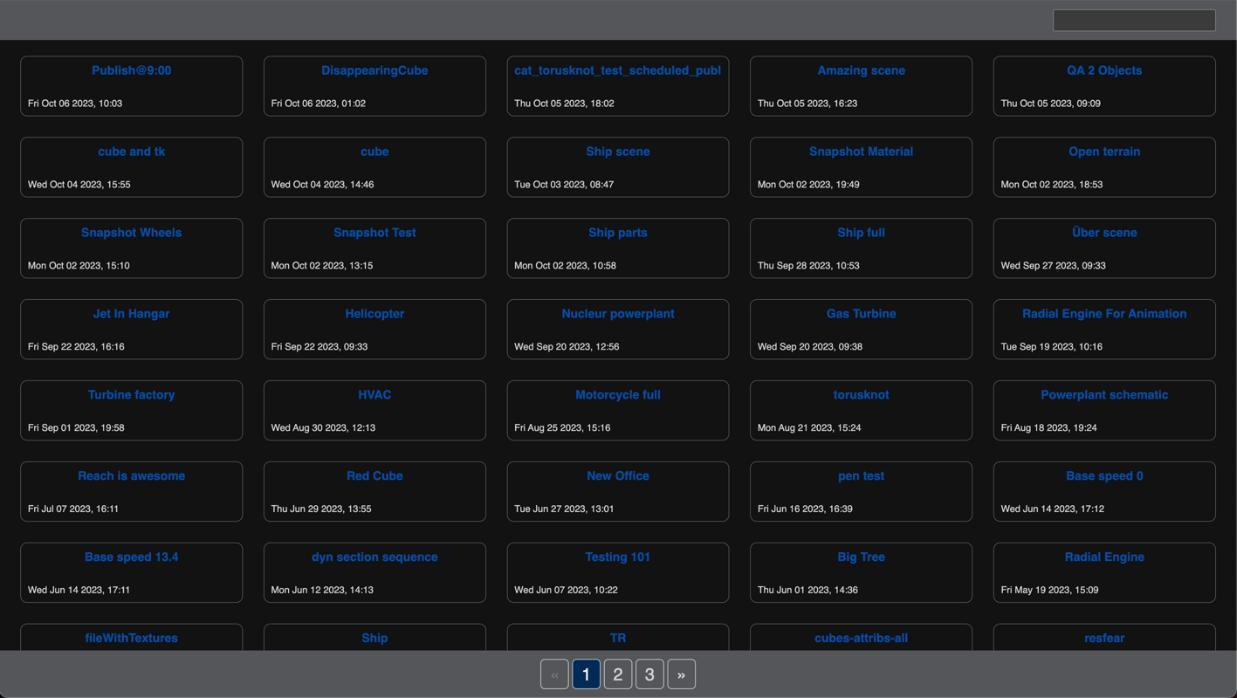
After clicking on the ‘Beta’ button, you will see the Scenes page (note that it may have either light or dark colours depending on your operating system’s colour mode). It will show the same list of scenes as the official version of Reach. Left-click on a scene to open it.
Search
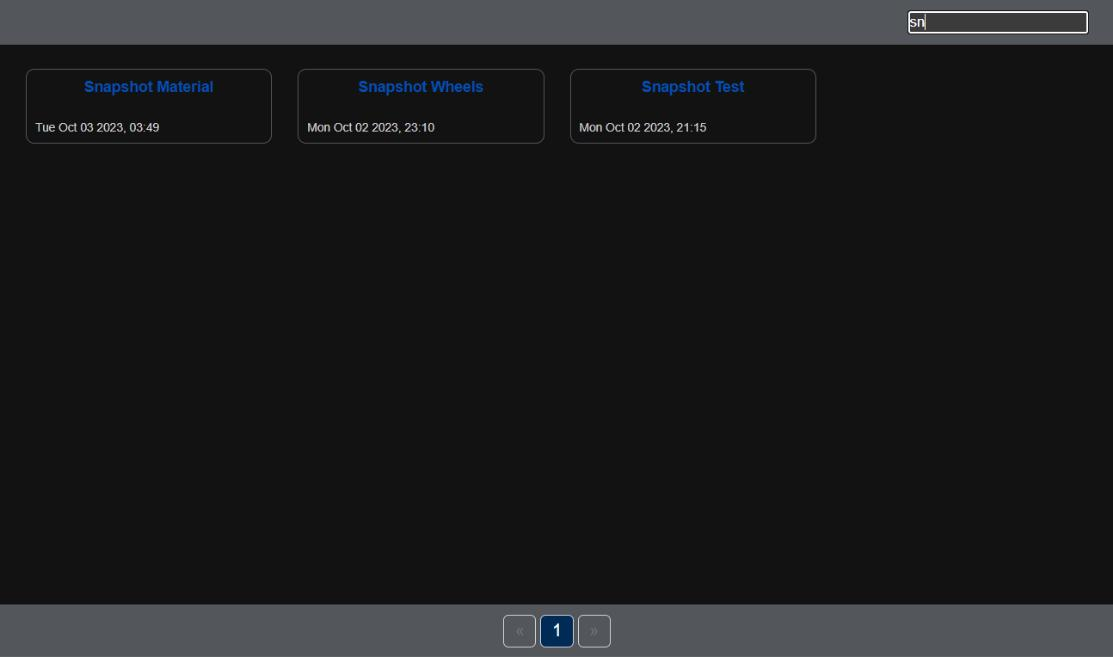
We have added a new search bar to the Beta release for your convenience. Left-click in it and start typing to search for scenes by name.
Note: It is case-insensitive and does not support wildcards.
Loading scenes
After clicking on a scene in the Scenes page, you will see a loading screen.
Note: We apologise for the lack of a progress bar at the moment - this will be added soon.

Loading times can vary, especially for larger scenes, so with the absence of a progress bar we ask that you please remain patient until your scene fully displays on the screen. Depending on your scene’s complexity and size it may take a short while for assets to download before it becomes usable. Once loaded, you will be placed at the world origin - i.e. x,y,z coordinates (0,0,0). If any errors occur whilst loading your scene you will be returned to the Scenes page.
Note: If your scene has an origin other than (0,0,0) it may appear not to load. A quick workaround is to open Settings (see below) and use the debug animation option to input a specific centre point for your scene. This isn’t ideal though and you will be returned to your original position when you move again. Our recommendation is to re-centre your scene at the origin (0,0,0) and re-publish it.
Status indicators

Once your scene has loaded, you may notice 3 icons at the top-left of your scene:
| Icon | Description |
|---|---|
 |
This icon indicates the status of the server connection:
|
 |
This icon appears and will flash when meshes are being downloaded to your viewpoint in the scene. It will disappear again once all the meshes in your current viewpoint are fully downloaded. |
 |
This icon appears when meshes are being sent to your device’s Graphics Processing Unit (GPU) to be rendered on the screen. |
Scene metrics
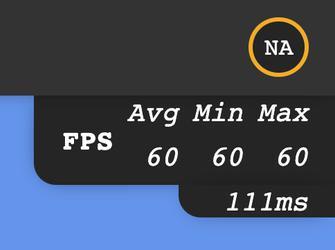
There are 2 metrics shown at the top-right of your scene:
Navigation controls
Desktop
The Beta release of Virtalis Reach maintains the familiar W, A, S, D, Q, and E keys for navigation.
You can adjust movement speed with the scroll wheel of your mouse.
Note: The Beta release of Virtalis Reach now also supports navigation with a SpaceMouse.
Tablet and Mobile
If you are on a tablet or mobile device then you can use the following touch controls:
Note: The touch controls are designed for multi-direction navigation. You can simultaneously use the two-finger vertical swipe to move up or down whilst pinching or spreading to move forward or backward.
Immersive (VR) mode
To enable immersive (VR) mode, open the Virtalis Reach Beta release on your headset’s browser and load a scene. Once the scene has loaded, you'll see a VR mode button at the bottom-right of your screen. Select this to enable immersive mode.
In VR mode you can now finely control your navigation speed using the 'grip' buttons on your controllers. For example, if you are using Quest 2 controllers, you can increase your movement speed by holding down the right 'grip' button and decrease it by holding down the left 'grip' button. This feature allows for more precise and tailored navigation across various devices.
Note: This interaction method may be refined or changed in the future.
Collaboration
To collaborate, first select and load a scene from the Scenes page. Once the scene is fully loaded, copy the URL from your browser's address bar and share it with your desired collaborators. Invited participants will not face any loading delays; they will be connected to the scene immediately and their session will start downloading and rendering meshes.
Note: The Beta release does not show avatars or controllers - these will be added soon.
Note: If you don’t have permission to join a collaboration session, you will see a blue screen with no geometry in it in the Beta release instead of an error page. This will be fixed in a future release.
Caution: In complex scenes, you may need to wait for the scene to load most of its geometry before sharing the link with others.
Debug panel
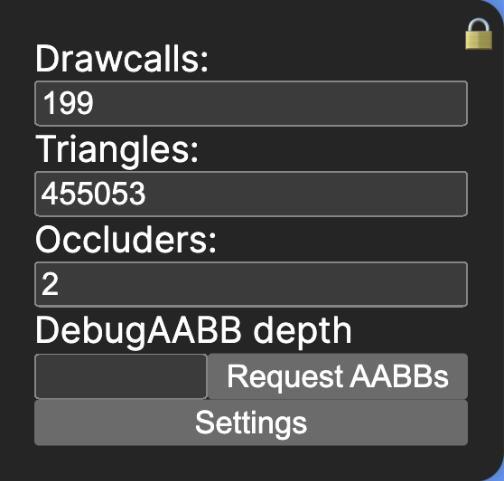
There’s a debug panel at the middle-left of your scene. Hover your cursor over it to make it appear. It shows debug information such as the number of draw calls, triangles, and occluders in your current viewpoint. This is mostly intended for internal Virtalis use and will assist us in diagnosing any potential problems you may encounter during the Beta period. This panel also contains a link to the Settings dialog.
Tip: Click on the padlock icon at the top-right to keep the panel in view.
Settings
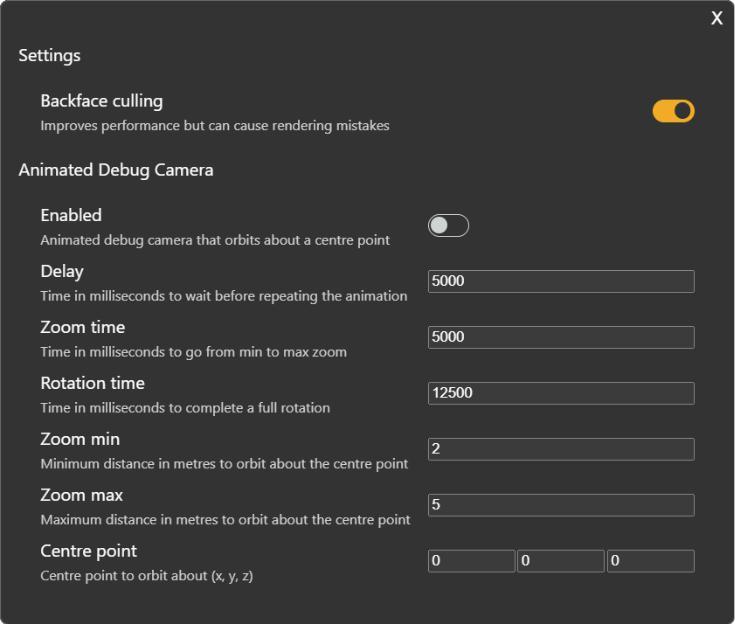
Click on the ‘Settings’ button at the bottom of the debug panel to open the Settings dialog. This contains various settings for the animated debug camera plus a ‘Backface Culling’ setting. This is enabled by default and optimises performance by removing the rear faces of objects from your scene. Its effectiveness is influenced by how CAD models - such as pipes - are configured or imported into the software. These types of models can appear incorrect with Backface Culling enabled so you may want to disable it if you notice holes in your geometry (but note that this might reduce performance in your scene).
Note: Backface culling can be safely disabled when using a desktop machine with decent specifications. However, it is advisable to keep this feature enabled when using a standalone head-mounted display (sHMD), as it is primarily designed to enhance framerate performance in sHMD use cases.
Debug keys
The Beta release includes several debug keyboard shortcuts to assist us in diagnosing any issues you may experience during the Beta testing period.
Note: These will be removed in the official release.
The following keys are defined:
0 - Show boxes for each instance being drawn
1 - Show BVH cull bounding test box
2 - Show BVH cull results
3 - Perform BVH occlusion culling
4 - Show solid debug AABB
5 - Show debug AABB
7 - Show scene
8 - Draw wireframe
9 - Force visibility
C - Toggle detached camera
F - Show view frustum
V - Toggle XR mode
If you accidentally enable any of these debug options, you can disable them by pressing the respective key a second time. If you encounter further issues, reload your scene to reset all debug options to their default 'off' setting.
Note: You can also use the Numpad keys to activate the numerical debug options.
Known issues and limitations
This release represents a fundamental rewrite focused primarily on elevating performance and scalability to new heights. Given this focus, the Beta release does not currently offer all the features available in the official release. We want to make it clear that while the Beta release aims to set new standards in performance and scalability, it is not a direct replacement for the official release in its current state.
We recommend using the Beta release for scenarios that require enhanced performance and scalability, and the official release where full feature support is critical. As we head toward an official release with the new performance work, we will continue to evolve the capabilities of the Beta release, informed by performance benchmarks and customer feedback.
Known issues
- In ‘open world’ scenes, objects that are very distant from you may get culled - i.e. not appear in view until you move closer. This issue might be associated with the far clip plane in very large open spaces. We are actively investigating it.
- A significant database update has been made to facilitate the processing and publishing of large scenes. A known issue arising from this update is that the product tree order may not be preserved accurately. This issue is prioritised for resolution. Additionally, in the official version of Reach, GUI (Graphical User Interface) elements may, in some cases, appear differently from their original arrangement in the scene.
- If you are in a scene and click the browser back button, you will be taken to the ‘loading scene’ page. To return to the Scenes page, click the browser back button a second time. Alternatively, you can directly navigate to the Scenes page by clicking the 'Home' link in the middle of the Navigation bar.
Limitations
The following list is non-exhaustive but indicative of things that will not work or are not supported in the current Beta release:
Notes for Virtalis Reach Beta use
Browser recommendation for Beta release
For the Beta release of Virtalis Reach, we strongly recommend using the Google Chrome browser or Chromium-based browsers such as Microsoft Edge. Please ensure that you have the latest official version of these browsers. They are known for their superior performance and compatibility with modern web technologies, ensuring a responsive and seamless visualisation experience. The Beta release also supports the latest official version of Mozilla Firefox. When using a standalone headset, we recommend using the native browser that comes with your device.
Browser data storage limitations
Virtalis Reach operates efficiently through your Chrome browser, using a feature called "caching" to temporarily store data on your computer for faster loading times. However, Chrome has a limit on the amount of data that can be stored temporarily. This limit ensures your browser runs smoothly without overloading your computer.
This could affect the speed of your scene, especially those with extensive geometry datasets. When the limit is reached, the system may take a bit longer to load visual data as they need to be fetched from the server instead of from the cache on your local machine.
Enabling hardware acceleration for optimal performance
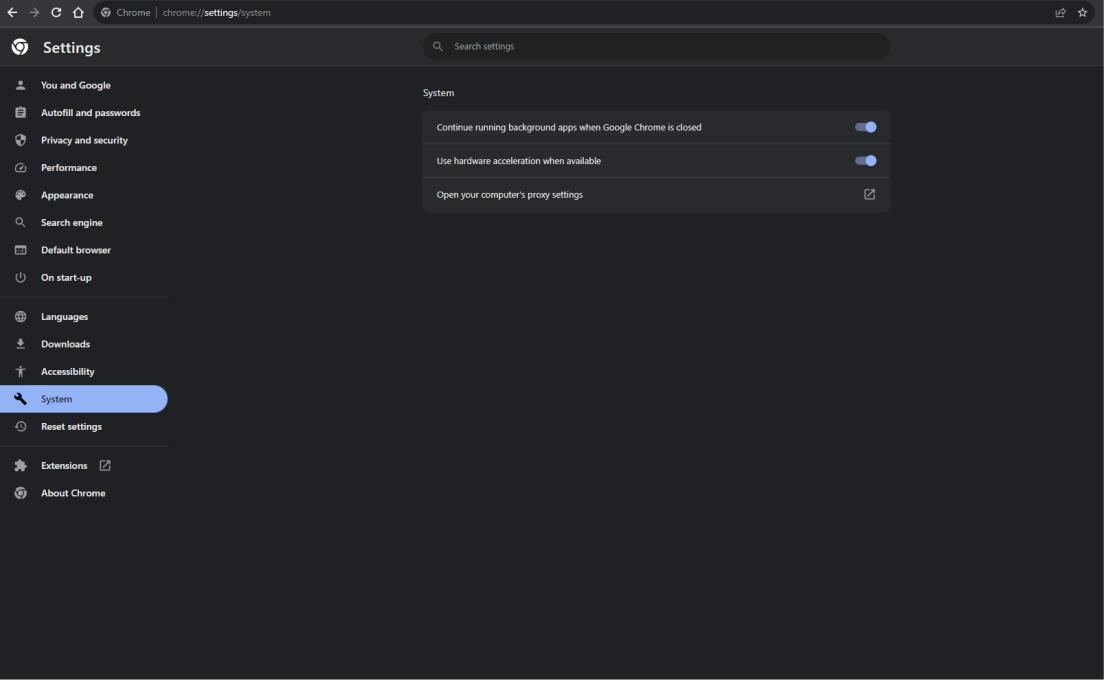
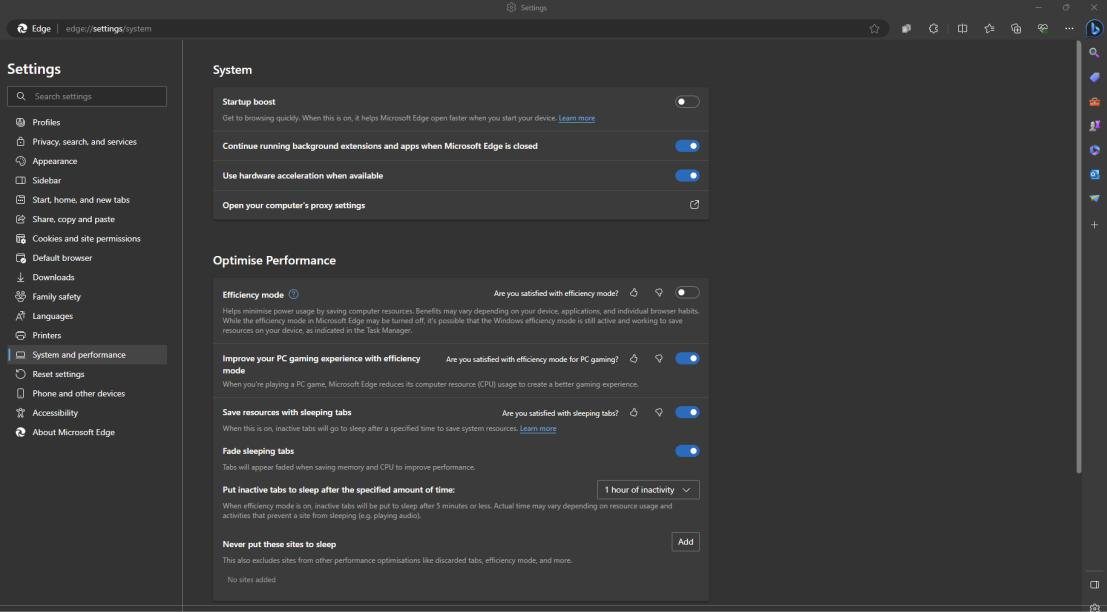
To ensure optimal performance, it is crucial that the Hardware Acceleration feature is enabled in your browser settings. This feature significantly enhances the rendering speed and overall responsiveness of your scenes. To enable this feature, follow the steps below.
Chrome and Edge
- Open your browser.
- Click on the three vertical dots (Chrome) or three horizontal dots (Edge) at the top-right of your browser.
- Select Settings from the drop-down menu.
- Scroll down to the bottom if necessary and, in the settings menu options on the left of the screen, click on System (Chrome) or System and Performance (Edge).
- Ensure that Use hardware acceleration when available is enabled.
After enabling Hardware Acceleration, you should notice a marked improvement in the performance and responsiveness of your scenes in Virtalis Reach.
Note: These steps should work for other Chromium-based browsers too.
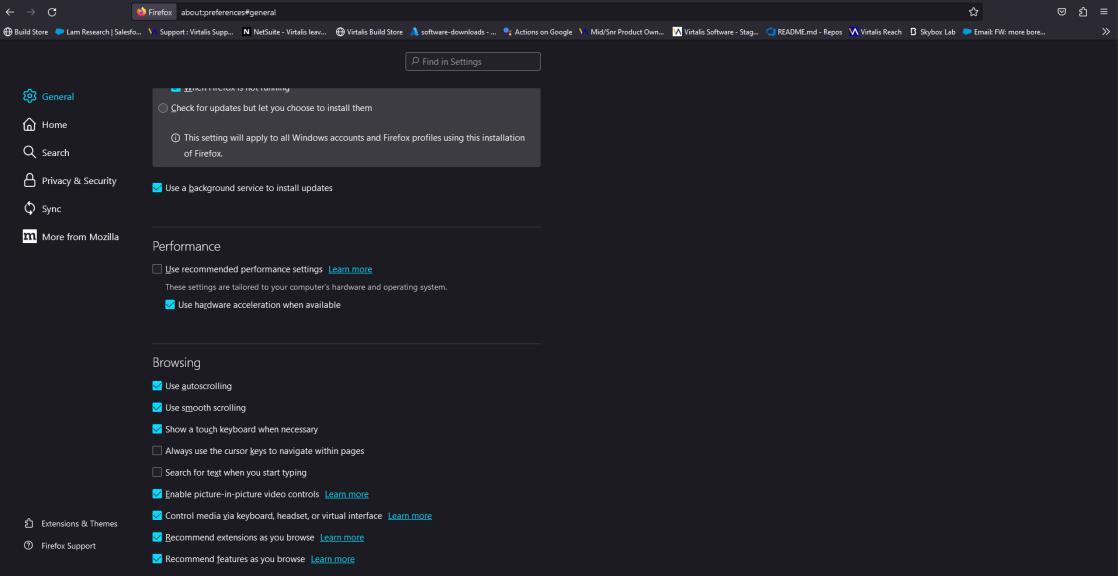
Firefox
- Open Firefox (ensure it is the latest official version).
- Click on the hamburger menu (three horizontal lines) at the top-right of your browser.
- Select Settings from the drop-down menu.
- Ensure you are on the General tab, located in the settings section on the left.
- Scroll down to the Performance section.
- Uncheck the box next to Use recommended performance settings. After doing this, the option Use hardware acceleration when available will appear.
- Ensure that Use hardware acceleration when available is enabled.
Standalone Head-Mounted Display limitations
Regarding the use of standalone Head-Mounted Displays (sHMD), our preliminary tests indicate that complex scenes are generally performant, although there may be variations depending on several factors like model density, geometry instancing, and in-view triangle count. For example, we've achieved promising results with scenes containing up to 65 million triangles and 57,000 models. However, note that HMD devices like the Meta Quest 2 have fixed limitations, with a maximum capacity of 1 million in-view triangles. We manage to approach these hardware-imposed limits through thoughtful optimisations that enhance performance without significantly affecting visual integrity on mobile devices and sHMDs. With the latest headset releases - such as the new Meta Quest 3 - this limitation will be far less apparent.
Client device hardware minimum
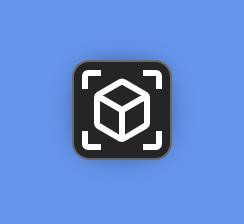
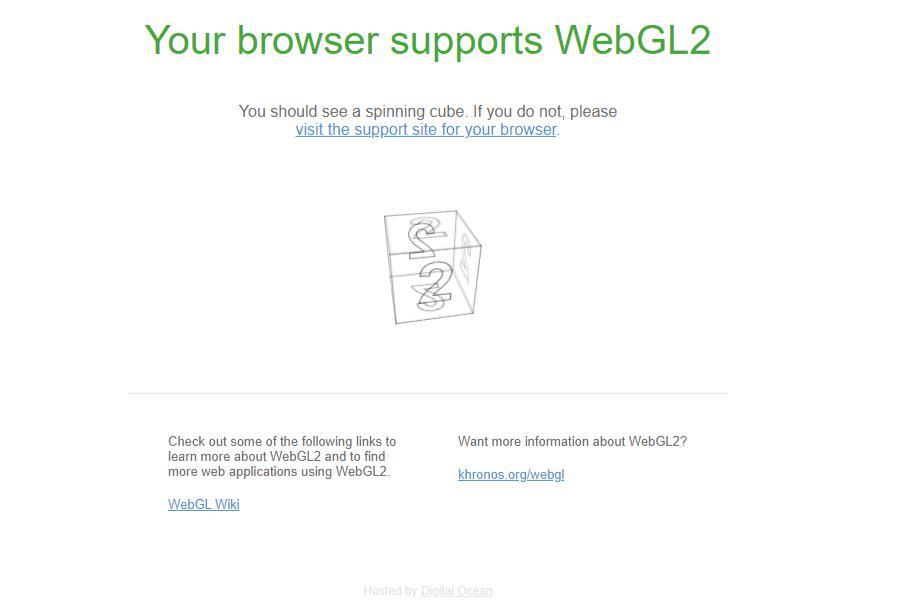
At a minimum the client device needs to support the WebGL2 rendering context. To assess your device and browser please visit the following link: https://get.webgl.org/webgl2/. If your device supports WebGL2 then you will see the following page (with spinning 3D cube showing):
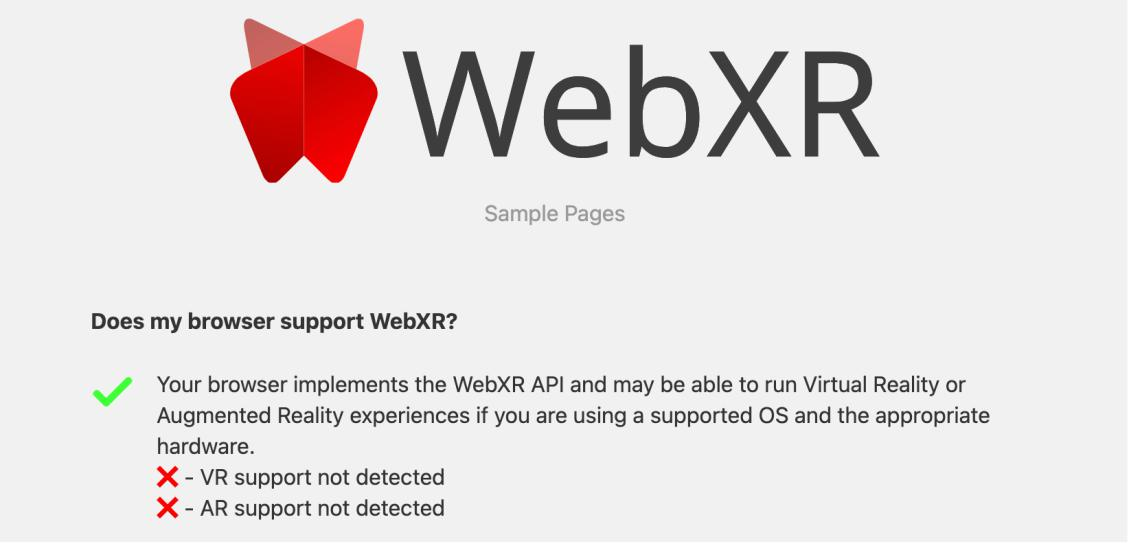
If you want to use VR mode, please ensure that your device and browser support the WebXR standard. You can do this by visiting the following link: https://immersive-web.github.io/webxr-samples/. If you see a green checkmark this indicates that WebXR is supported on your device (see image below). VR support likely won’t be detected through the website so please make sure that your hardware supports your HMD
Note: The actual hardware required can vary greatly depending on the complexity of the scenes you intend to run. For instance, scenes with a high number of triangles or models will demand more from your hardware. We cannot specify a one-size-fits-all recommendation because of the varying nature of visualisation requirements. Therefore, for complex scenes involving a high number of models or triangles (defined as 72 million triangles or 100,000 models), a machine with a graphics card, greater RAM capacity, and faster multi-core CPU is advisable.